Deluxe Adjustable Wooden Bead Looms
NATIVE AMERICAN BEADING LOOM USE
Crazy Crow Trading Post Craft Focus ~ June 2009
Deluxe Adjustable Wooden Bead Looms
NATIVE AMERICAN BEADING LOOM USE
Crazy Crow Trading Post Craft Focus ~ June 2009
Building a Better Mousetrap . . .
It’s not often that someone is truly able to build a better mouse trap. But when it comes to the classic bead loom, that’s what Crazy Crow has done with the introduction of their new Deluxe Adjustable Beadloom. For making loom beaded strips, the ideal loom should have certain features: Able to accommodate a variety of lengths and widths, can be used with a wide range of bead sizes, easy to store, adjustable with minimal effort, economically priced, easy to use, and suitable for the needs of Beginners through Advanced Beadworkers. Following are details regarding the features and use of Crazy Crow’s loom which incorporates all of these features.
BEAD LOOM PARTS:
The Deluxe Loom consists of 3 main pieces: (A) Slotted Base section; (B) Sliding Base section; and (C) Traveling End Piece. In addition, there are 3 bead spacers, a bolt, wing nut, and large and small washers.
BEADING LOOM DEFINITIONS:
For those new to loom beading, we offer the following definitions:
- Warp Threads: lengthwise threads that are used to string up the loom before starting
to bead. - Weft Threads: thread upon which the beads are strung when fitting the beads between the warp threads.
- Bead Spacers: the synthetic comb-like pieces at the end of each base and the Traveling End Piece.
SPECIFICATIONS:
Beadwork Sizes:
This loom will permit you to make loomed strips up to 3″ wide and in
lengths from a maximum of 39″ on down to the shortest piece possible.
Bead Sizes: You can use seed beads down to size 20/0, pony beads, or wampum beads, depending on how far apart you space the warp threads.
HOW THE ADJUSTABLE WOODED BEAD LOOM WORKS:
Following is a simple description of how the loom works: For medium to long strips, the Sliding Base sits on top of the Slotted Base. The wooden runner on the bottom of the Sliding Base is positioned in the slot of the Slotted Base. The two units are held firmly together by tightening the wing nut which goes through both bases. To change the length of the loom, loosen the wing nut and slide the two bases apart to the appropriate total length, then retighten the wing nut.

For short strips, replace the Sliding Base with the Traveling End piece and use the same bolt and wing nut assembly to tighten the Traveling End piece at the appropriate distance.
To store, move the Sliding Base as far up as it will go on the Slotted Base, set the Traveling end piece on top of the Slotted Base, run the bolt through all three pieces, then tighten the wing nut. The total length for storage will be 23″.
DETAILS OF OPERATION
The above description gives a brief summary of how the adjustable wooden bead loom works, but here are the real details:

To make bead strips 27″ and longer:
- Place the Sliding Base on top of the Slotted Base. (Set the Traveling End Piece aside.)
- Adjust the Sliding Base (B) to the desired length on the Slotted Base (A).
- On the Sliding Base, find the hole that is nearest to the center of the distance between the end pieces of the 2 bases. Slide the large washer onto the bolt, then insert the bolt from underneath the Slotted Base and through that center hole so that the threaded end is above the surface of the Sliding Base. (Figure 1)
- Place the small washer on the bolt, then screw the wing nut down, being sure to keep the Slotted and Sliding Base pieces in straight alignment. Tighten the wing nut as much as possible, by hand.
- Slide the bead spacers in the ends from the side. (Figure 2)
- String up the loom with Warp Thread and proceed with beading.

To make Shorter Strips:
- Set the Traveling End Piece on the Slotted Base so that the hole of the Traveling End Piece is centered over the slot. (Set the Sliding End Piece aside.)
- Slide the large washer onto the bolt, then insert the bolt from underneath the Slotted Base and up through the hole in the Traveling End Piece.
- Place the small washer on the bolt, then screw the wing nut down, being sure to keep the Slotted Base and Traveling Piece in straight alignment. Tighten the wing nut as much as possible, by hand. (Figure 3)

Stringing the loom:
Apply beeswax to a long section of heavy cotton thread which you intend to use for the warp threads, then wrap most of it back onto your spool. To string the warp thread on the loom, tie the thread end to the center brass nail at one end of the bead loom. (Figure 4) Bring the thread up and through the exact center of the comb-like spacer, across to the opposite end and through the center of the spacer on that end. Wrap it around the center brass nail and bring the thread up and through the slot next to the first thread. Continue to string the loom in this fashion until you have the correct number of threads. The number of warp threads should equal the number of beads plus one. For example, 27 beads wide will require 28 threads. If desired, the final outside warp threads may be doubled to add strength to the outside edge.
Remember to keep an even tension on the thread while stringing. As you string the threads wider, you will wrap threads around the other brass nails. This will help keep the string tension from being centered on one pin.
As you let out thread from the spool, apply beeswax to the unwaxed warped thread just before stringing it up.
Fine Adjustments:
Sometimes when stringing up a loom, the warp threads that are first strung become somewhat loose as you continue to string toward the other end of the Bead Spacers. This loom is designed so that you have some ability to adjust the tension on those loose warp threads.
Notice that the Sliding Base has some side-to side movement when positioned in the Slotted Base and before tightening the wing nut. Also note that the Traveling End piece can be rotated clockwise or counterclockwise when the bolt is loose. The ability to turn these pieces from side to side is the key to tightening those first warp strings.
After the loom is strung, do the following:
- Slightly loosen the wing nut on the Sliding base (or Traveling End Piece)
- Now simultaneously push the Sliding Base/End Piece away from the Slotted Base as you slightly rotate the former piece so that the loose warp threads become tight.
- With tension now being held on the strings, tighten the wing nut.
- The result will be that the Bead Spacer on the Sliding Base/Traveling End piece is not quite square with the Slotted Base end piece, but all the warp threads should now be tight.

Beginning the Beadwork:
Starting with a thread that is about twice as long as your arm, thread the beading needle, leaving one thread end slightly longer then the other. Then wax this thread well, as the wax is very helpful in preventing tangling as you bead. Tie the long end of your weft thread to the outside warp thread, just in front of the upright. Next, weave back and forth through the warp threads a few times, going over and then under each consecutive thread, as shown in Figure 5. This helps anchor the thread and provides a beginning for the work.
Some bead workers prefer to start in the middle of the design and work to the right, then, come back to the middle and work left. That way, the piece will not be too long or short with the design off center. In this case, simply tie the weft thread to an outside warp thread in the middle of the loom.
Next, begin stringing beads on the weft thread as indicated by the first row of your design. Pull this first row under the warp threads and push the beads up through them, holding them in place, if necessary. Then, run the needle back through the beads, this time making sure it goes above the warp threads. Pull the thread all the way through, gently snugging it up against the outside warp thread. You can work from right to left or left to right, but if you are right handed, it usually works best to tie the thread to the left warp thread to begin.
Once this first row is complete, it’s a simple matter of repeating the same steps to continue beading. Just follow the pattern color by color. With each consecutive row, be sure to keep even tension on the weft thread. This will help keep the bead strip as even as possible throughout its entire length. As beads vary somewhat in width, this is extremely important in producing a good-looking strip.

Adding New Thread:
When you are about to run out of weft thread, complete a final row then tie off the warp thread with a simple clove-hitch around the outside warp threads. Take the needle and run the thread through the last 3-5 beads on the previous row, then pull the needle out and cut off the remaining weft thread as close as possible to the beads.
Attach a new weft piece by tying its end securely to a warp thread in the middle of the work. This knot should be as close as possible to the center of the last row you beaded. Trim the end short. Now pass the needle and new thread through the last half of the last row of beads and continue beading. In this way, you can avoid exposed knots on the finished work by turning the strips over when mounting.
Completing the Work:
When you reach the end of the piece, weave some of the remaining weft thread in and out of the warp threads as you did in the beginning. Several rows, or approximately 1/8″, is plenty to complete the work, and a small strip of adhesive tape can be used over the weaving for extra security if desired. Now, tie the warp threads together in groups of 6 or 8 as shown in Figure 6. This will all be securely folded under the strip when it is mounted.
M A T E R I A L S & S U P P L I E S
Click any link below to view detailed product and ordering information.
Needles & Thread
Beading Needles – For use primarily in loomwork, these long thin needles also work quite well when doing gourd stitch and beaded earrings. The needle size indicates the smallest bead size for which it is designed. However, a smaller size needle must be used when it will pass through the bead twice, as in gourd stitch or earring work.
Bead Craft & Beading Thread: Bobbins, Spools, Cones -Generally, Nymo nylon thread is best for gourd stitch, earrings, lazy stitch, applique and weft threads on loomwork. Size “A” or “00” Nymo is best for 13/0, 14/0 and smaller beads; “B” is good for 12/0 and 11/0; “D” works well with 11/0 and 10/0 beads; and “F” is quite heavy, good for 5/0 and 8/0 pony beads. “F” is also good as a craft thread for heavy duty sewing …such as moccasins, clothing, drumstick heads, etc.
For loomwork warp threads, Crazy Crow recommends cotton as it does not stretch like the nylon thread. Use Quilting thread for 12/0 and smaller sized beads and Button and Carpet thread for the larger size 10/0 and 11/0 beads. Nymo thread can also be used for warp threads, but it should be pre-stretched before use. Both types of thread should be coated with beeswax before use, as this prolongs the life of thread and helps prevent tangling.
Bees Wax – A very fine quality 1 oz. cake for waxing thread, which increases thread life and prevents tangling.
Seed Beads
Czech Seed Beads – Sizes 10, 11, 12, 13, 14, 16 in regular and special colors. Crazy Crow Trading Post is a direct importer of many of the most popular styles and sizes of Czechoslavakian seed beads. We have a huge selection of all the seed beads needed to create contemporary, traditional and historic Native American Indian and Mountain Man style beaded crafts, outfits and accessories.
Crazy Crow Articles

Current Crow Calls Sale
September – October
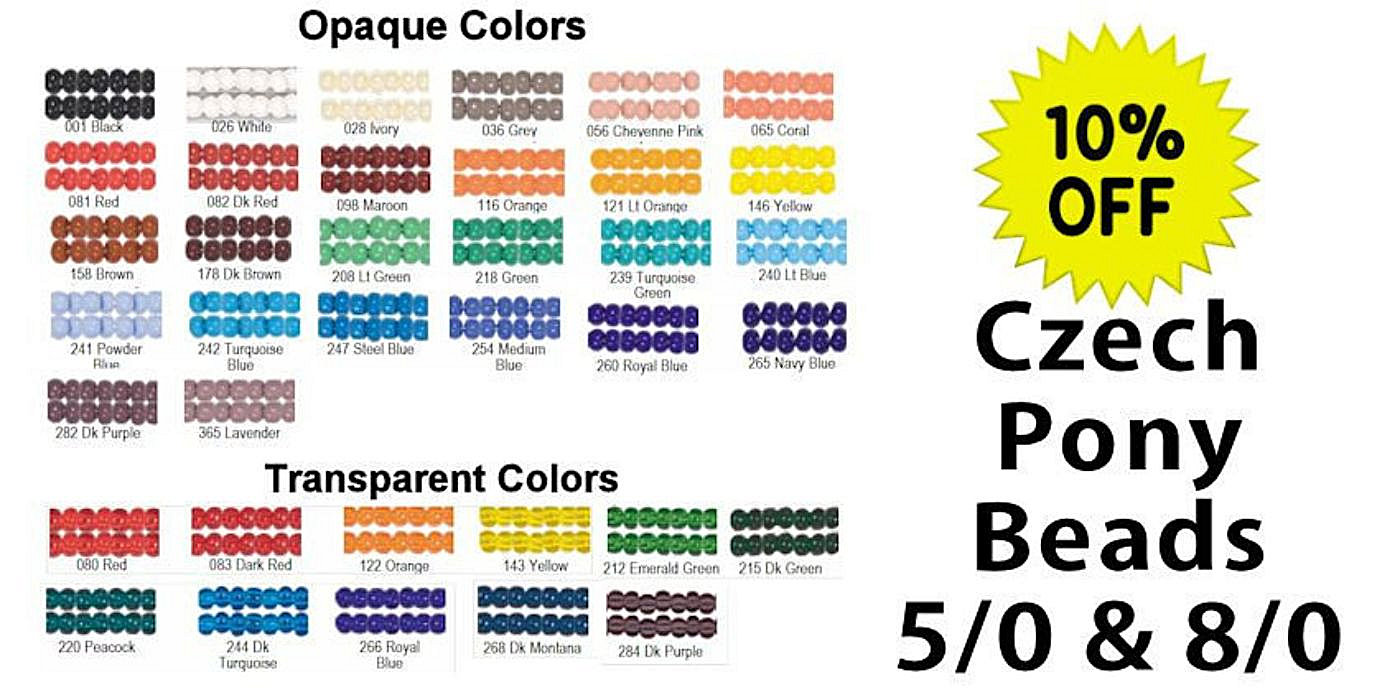
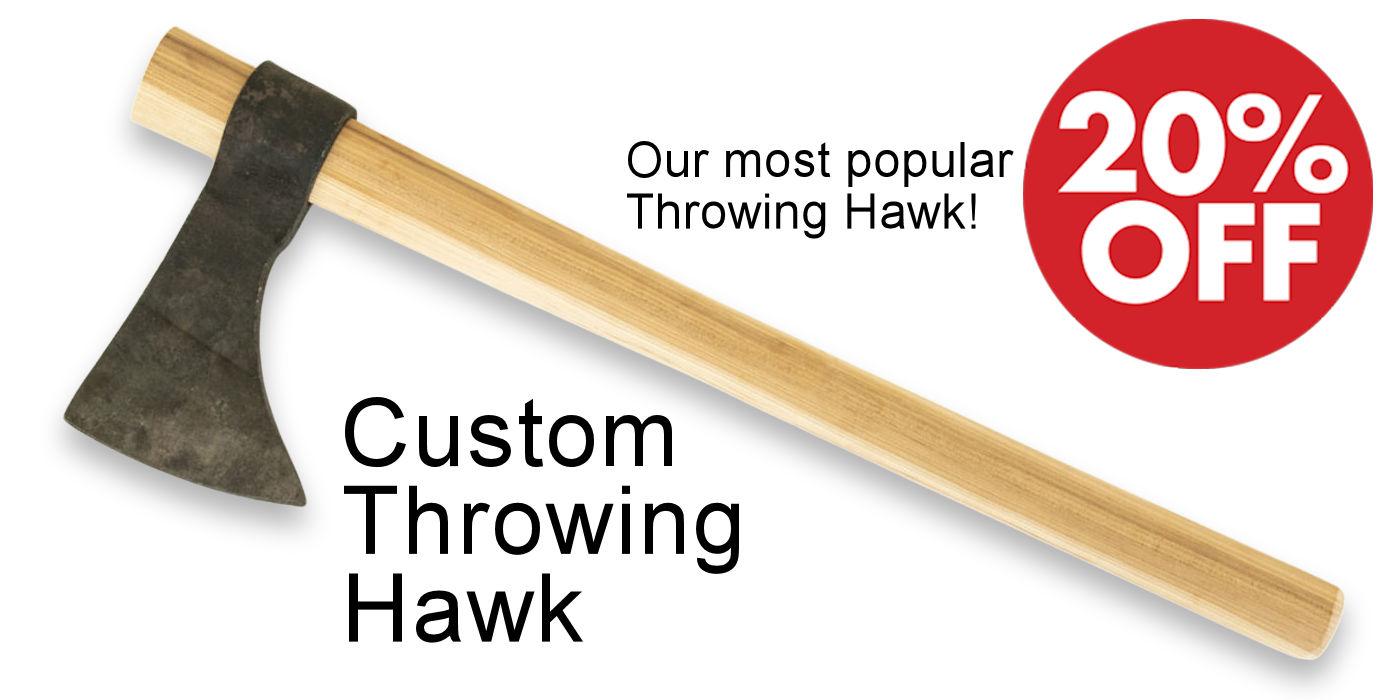
SAVE 10%-25% on popular powwow, rendezvous, historic reenactor, bead & leather crafter supplies. on Green River Knives, Custom Throwing Hawk (our most popular), select handmade frontier knives & a wide range of camping supplies (cookware, utensils, firetools, etc.). Other sale items include Size 5 & 8 Czech Pony Beads, Nickel & Brass Plated Bells, Sweetgrass Braids, Smudge Sticks, Southwest Style Tote & other type bags, big savings on #2 German Tan Buckskin, and much more.