
Porky Roach Kit Instructions
Instructions Provided with each Crazy Crow Porky Roach Kit
By Crazy Crow Trading Post ~ May 1, 2016
Porky Roach Kit Instructions
Instructions Provided with each Crazy Crow Porky Roach Kit
By Crazy Crow Trading Post ~ May 1, 2016
No other headgear, with the exception of the Plains warbonnet, personifies the North American Indian as much as the hair roach. Historically, its distribution and use covered virtually all tribes of the Plains, Plateau, Great Lakes, and Eastern Woodlands cultural areas. Paintings by artists in the 1830s reflected the use of the hair roach at that early date, and contemporary use of the porky roach may be seen in the outfits of the Grass Dancer, Oklahoma Straight Dancer, Oklahoma Feather Dancer, Northern Traditional Dancer, and the Old Time dancer.
Using Online Kit Instructions: Click on any figure (image) to view larger version. To print the larger view, “right-click” with your mouse on the image and select “print picture” from the menu that appears.
Deluxe Porky Kit Includes:
- 1.5 oz. Porky Hair
- 3 Natural White Deer Tails
- 18″ Rope Base
- 1/8 oz. Beeswax
- 1 Spool Button & Carpet Thread, for tying
- 27 ft. Base Cord
Deluxe Porky Kit Includes:
- 1.5 oz. Porky Hair
- 3 Natural White Deer Tails
- 18″ Rope Base
- 1/8 oz. Beeswax
- 1 Spool Button & Carpet Thread, for tying
- 27 ft. Base Cord
Deluxe Porky Kit Includes:
- 1.5 oz. Porky Hair
- 3 Natural White Deer Tails
- 18″ Rope Base
- 1/8 oz. Beeswax
- 1 Spool Button & Carpet Thread, for tying
- 27 ft. Base Cord

ALSO NEEDED: Needlenose pliers, sewing needle, 50-60 straight pins, small pair of scissors (manicure type are best), piece of heavy cardboard approximately 1″ x 3″, ruler.
IMPORTANT: Read all instructions carefully before beginning, then reread each section prior to proceeding with that step. The porky roach should take 13 to 18 hours to complete. Do not rush because the time and effort you spend here will make a big difference in the quality of your finished roach.
PREPARATIONS
Wash & Prepare Deertails
The deertails must be washed to remove excess dirt and salt (used to dry & preserve them). Dish washing liquid and a bucket of warm water are recommended. Wash twice, rinse thoroughly, and lay them white side up on clean paper to dry.
Tying Board Construction & Preparation
Construct a tying board as shown in Fig. 1A. Wood screws and carpenter’s glue are best for securing the boards together. Do not use nails, they will not secure the ends properly.
After assembling this board, or frame, drive a nail into each end at a downward angle. This will be used to secure the base cord. Small, rounded grooves shown in Fig. 1B will help hold the cord in place while tying.
Prepare Tying Bobbin
Prepare a tying bobbin using the spool of “button & carpet thread” furnished with the kit as shown in Fig. 1C. Wind approximately 10 to 15 yds. of the tying string onto this. A rubber band can be used to prevent too much string from unwinding. Let the string out as needed. This “bobbin” of thread is much easier to handle while tying than the whole spool of thread. Note: This thread is also used for tying the deer hair and for sewing the tied rows of hair to the roach base.

SORTING THE PORKY HAIR
You must first sort the porky hair into groups of similar length before tying it. Take a small bunch of hair, about as thick as a pencil, and with the bottom (root) ends of hair down, tap it against a tabletop several times. Hold the hair loosely in your hand as shown in Fig. 2A. This will line up the ends of the hair for sorting. Be sure that all hair has its roots at the bottom of the bunch. See Fig. 2B.
Place the entire bunch of hair between the first two fingers and thumb of your left hand and, holding it over a ruler laid on the table, pull out the hairs, starting with the longest first. SeeFig. 2C.
Separate all the hair into half-inch groups, such as 5″-5.5″, 5.5″-6″, etc. Any hair over 7.5″ long should be in one group and all hair under 5†is placed in another. After pulling out all the hair in one size group, tap the bunch down to realign the roots, then sort out all the hair in the next size group. Repeat this until all the hair is sorted. The size categories needed are: under 5″, 5″-5.5″, 5.5″-6″, 6″-6.5″, 6.5″-7″, 7″-7.5″, and over 7.5″. You can now place the sorted hair into separate envelopes to prevent it from getting mixed up.
TYING THE PORKY HAIR
The porky hair is somewhat easier to tie than deerhair, so we recommend tying it first in order to build confidence & skill in making the knots & handling the small bundles of hair. Deer hair is finer & more difficult to tie tightly, & since this is the row of tying that is seen on the outside of the roach, you must tie it in neat, even bunches. The porky hair allows a little more room for error.

String the base cord which is the heavy “chalk line” or “cotton cable cord” on the tying board, securing it to the nail. Tie it tightly because it is easier to tie hair to this base cord if it does not give. Mark a 32″ length of the base cord in sections as shown in Fig. 3A. For the Deluxe 18″ Roach, this will be 38″ as shown in Fig. 3B. These marks are where you will change the size of porky Hair that you are tying. These are suggested section widths only! Because the thickness of porky hair naturally varies, it is difficult to say how many hairs should be used in each bundle of tied hair. This number can vary from as few as 12 strands of thick hair to as many as 20 strands of thinner hair. Therefore, you may need to modify these section sizes based on the amount of hair you have in each category. If you find that you have enough hair that is over 7.5″ in length, then make room for a section for this at the center. A good method of determining whether you are tying correctly sized bundles of porky hair is by trying to tie from 7 to 10 bundles per running inch. Just measure an inch of your tied hair & count the bundles.


Attaching Your First Bundle
C-clamp the tying board to your worktable to prevent it from sliding, and wax the base cord. Let out 10″- 12″ of thread from the bobbin, wax it, and tie it to the base cord at the right end of the 32″ section as shown in Fig.4A, use a square knot followed by 2 secondary knots.
Grasp a bundle of approx. 12-15 strands of porky hair from the under 5″ length and fold 1/4″ of it over the base cord, about an inch to the left of your first knot. Pinch the hair firmly on the base cord using the thumb and forefinger of the left hand, and tie a primary knot with the tying string. (Fig. 4B) Pull the knot snug with a smooth action (do not jerk it), pulling up and to the right. Release the hair and tie a secondary knot as shown in Fig. 4C to secure it firmly. It is important to use bundles of a approximately the same size in order to produce a nice, even looking roach, but it is not necessary to count the strands of hair. Proceed in this fashion, changing hair sizes when indicated by your marks.
After you tie the first section, you will know approximately how much hair it takes to tie an inch of length, and these sections can be adjusted if necessary, as discussed above. When you complete the row, mark the center and cut it off of the tying board.


OPTIONAL SECOND ROW OF PORKY HAIR
Often, a short (approximately 5″-6″ row of porcupine hair is added to the front of the roach to give it a fuller look. If you have enough of the longer hair, we suggest doing this. This should be done using the same length hair you used in the front 3 sections of the main row of porky hair.
TYING THE DEER HAIR
This is essentially the same procedure as used with the porky hair. Mark off a 34″ section (40″ for Deluxe) on the base cord this time, and then mark the center. Using only the white hair from the deer tails, clip off a small bunch using the following method.
Between the thumb and forefinger, grasp a small bunch of deer hair, slightly larger in diameter than a round toothpick or approximately the same size as a 16 penny nail. Tied deer hair should also average around 8 bundles per inch. However, it will require a larger number of strands of deer hair than porky roach hair to accomplish this because the deer hair is much thinner. As you progress, it will become easier to judge exactly the right amount of hair to use in each bunch. Be particularly careful to keep these bunches as close to the same size as possible so as to insure a nice, even looking roach.
Fold approximately 1/4″ of the cut end of this bunch of hair over the base cord. Tie the two knots while keeping the hair pinched firmly between the thumb and forefinger on the base cord. When clipping the hair from the tail, try to cut equal lengths (about 3-1/2″ long). You cannot trim deer hair after it has been tied. Never cut the top of deer hair. When tying deer hair, it should be remembered that it also varies in length and if some of the hair you are using is longer, it should be placed in the center of the cord, much like the porky hair. This will produce a roach that has a much nicer and more tailored finished appearance. Note: It is natural to try to tie deer hair bunches too large; however, these will come apart and ruin your roach so don’t overdo the bunch sizes! Wax the tying string as you proceed.
OPTIONAL INSIDE ROW OF DEER HAIR
If you wish to have a row of deer hair lining the inside of your roach, you will need to purchase 2 or 3 more deer tails. The inside row of hair is tied about 2″ shorter than the outside row, 32″ for the Standard Roach, and 38″ for the Deluxe 18″ Roach.
DYEING OPTION
If you would like a deer hair color other than white, or if the white has a yellow cast to it, dyeing will take care of this. RIT® dye is recommended, and it is best to boil the row of tied deer hair for 7-10 minutes (or to the desired shade), then remove it and hang it up to dry. Next, wash it with a solution of dish washing liquid to remove excess dye and hang it up to dry again. The roach base can be dyed using this same procedure.

PINNING & SEWING
Pin the row of hair onto the roach base, being certain it is centered. The folded ends of the tied hair should face away from the base. If you are making an inside row of deer hair, this should be pinned on first, and then the row of porky hair. Pin the deer hair on next, with the short, folded ends of the hair facing inward so they won’t show. Keep all rows tight and flat against the base while pinning and sewing. The rows should also be even with the bottom of the base. Space the pins no more than 1″ apart, and re-pin any areas that are not exactly right. This is a very important step and really affects the appearance of the finished roach so do not rush it. If the tail pulls to one side, loosen that side or pin the other side a little tighter. Sew the hair as shown in Figures, 5A, 5B, & 5C, starting from the front and proceeding 1/2″ per stitch, all the way to the back. First sew one side and then sew the other. Do not use a whipstitch! Sew into the knots to hold the hair firmly. Any overlapping hair at the end of the tail should be overlapped and sewn as usual, and about 1/2″ of the excess string should be tucked in behind the row so it does not show. If you wish, you may trim it to a perfect fit, but if trimmed, be sure to sew the ends securely in place to prevent the tied hair from coming loose. Also, a small drop of glue here would be a good safety precaution.


FINISHING TOUCHES
To shape the roach, you will need a cardboard tube approximately 1-3/4″ in diameter by 20″ long (22″ for the Deluxe Roach), or you can roll up newspaper into a tube of like dimensions. For a permanent storage, we highly recommend one of Crazy Crow’s wooden roach sticks, which also works very well for this shaping process. Wet the entire roach and comb out the hair as shown in Fig. 6A. Place the top of the roach on the tube and fold the tail down, parting the hair to each side of the tube. Comb the hair downward and wrap it all with a 1-1/2″ wide strip of white cloth (an old bed sheet works well) or elastic bandage that has been dampened. Be sure to keep the hair & base straight up & down along the tube while wrapping, as this will give the roach its permanent shape, similar to a woman’s permanent. Allow the roach to dry overnight, or it can be placed in the sun to speed the process.
If some of the hair did not turn out straight, repeat the process, but this time wet only the portion you wish to reshape. The roach should be stored permanently on this tube or on a wooden stick to maintain its form. See Crazy Crow’s Roach Care Instructions for further details on this.

MAKING A SPREADER
A roach spreader can be made from leather, bone, elk antler, brass, or German silver. Leather is the easiest material to work with and we offer the following instructions for a simple style. Cut a piece of heavy leather (strap leather works quite well) so that it fits on the base and just touches the inside row of hair. Punch a hole over the hole in the base. Punch another hole 1/2″ from the first hole. See Fig. 7. Take an 8″ piece of coat hanger and, using pliers, bend it as in Fig. 8A. Run the long end up through the back hole and tape or stitch the other part of the wire to the bottom of the spreader. If you prefer a 2-socket style spreader, run both ends of the wire up through the base as shown in Fig. 8B. Tie a knot in the middle of a shoe or boot lace and slip both ends through the first hole in the spreader and then through the hole in the roach base. See Fig. 9. Run a second lacing through the roach base itself, about 5″-6″ up from the tail end.
Your roach is now ready to wear!

Crazy Crow Articles

Current Crow Calls Sale
November – December
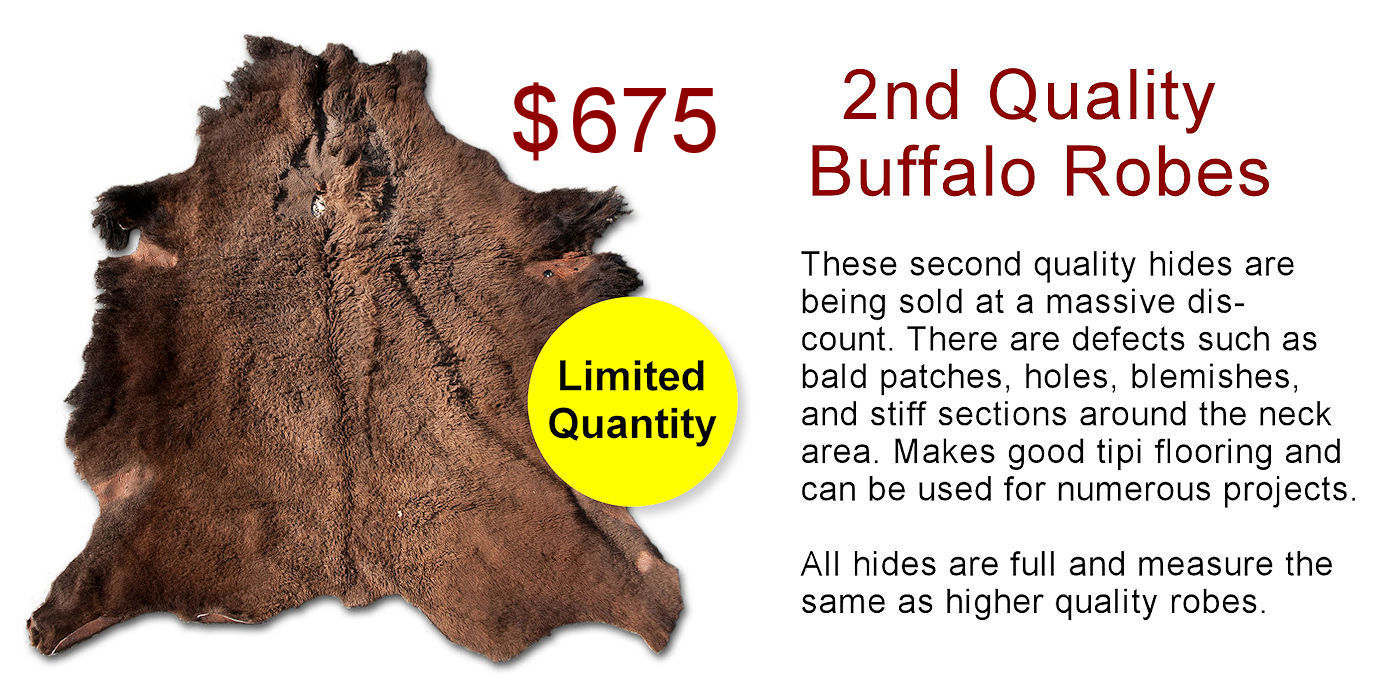
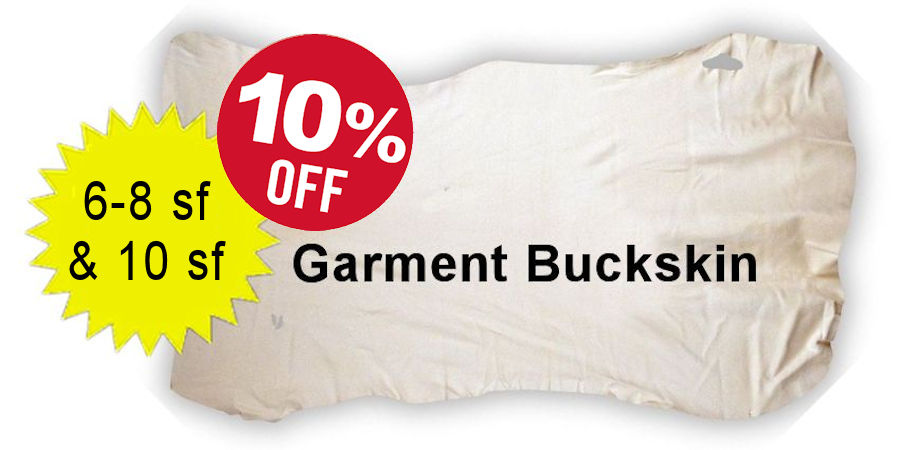
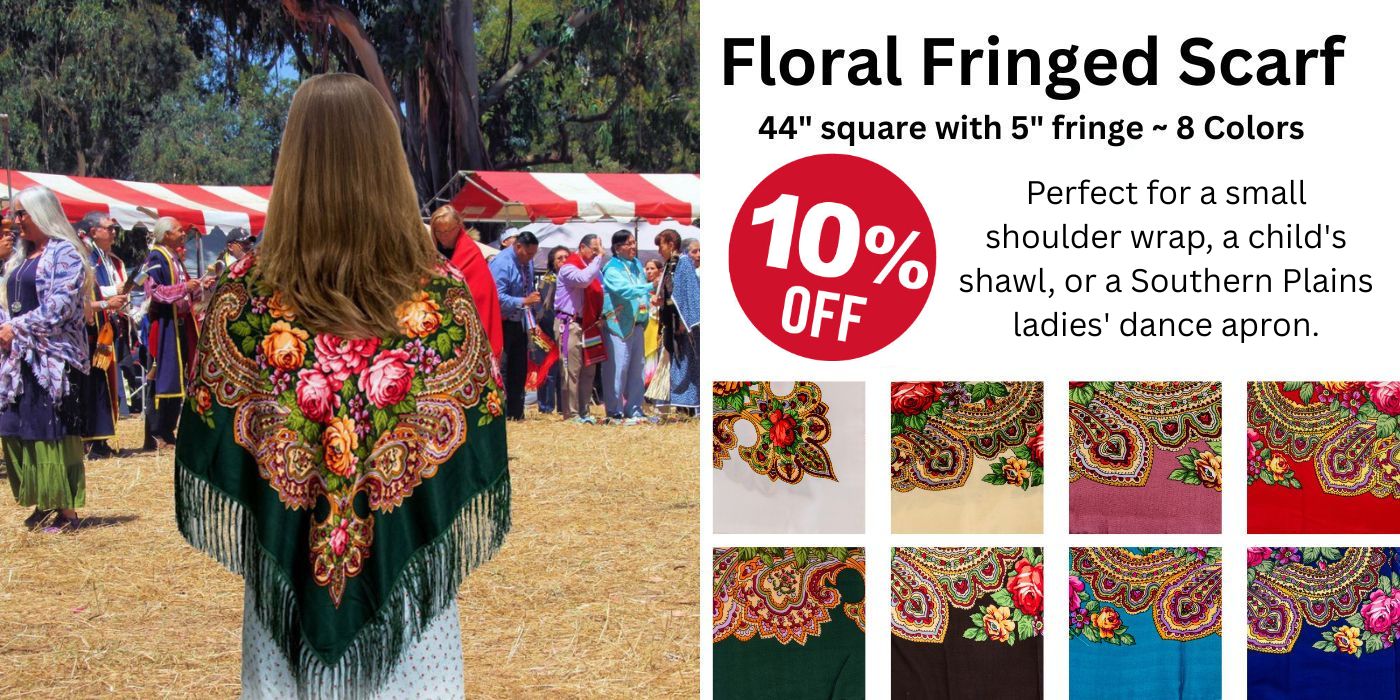
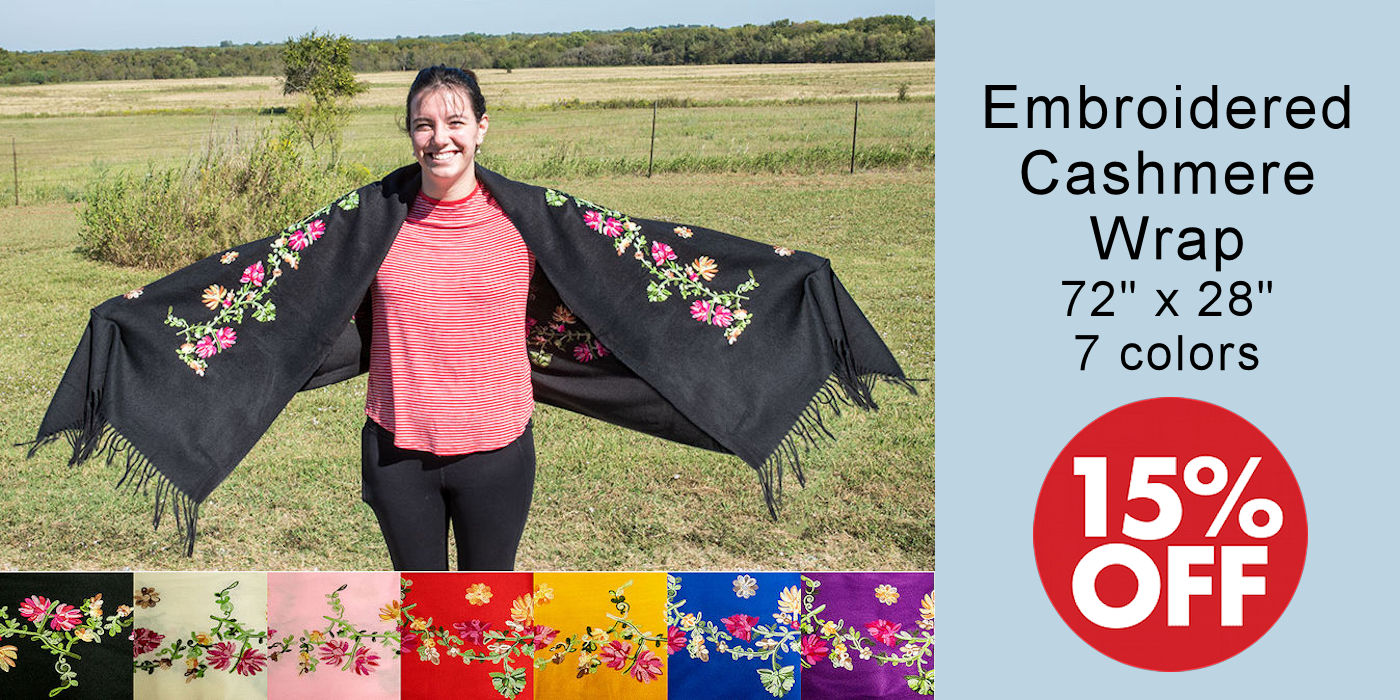
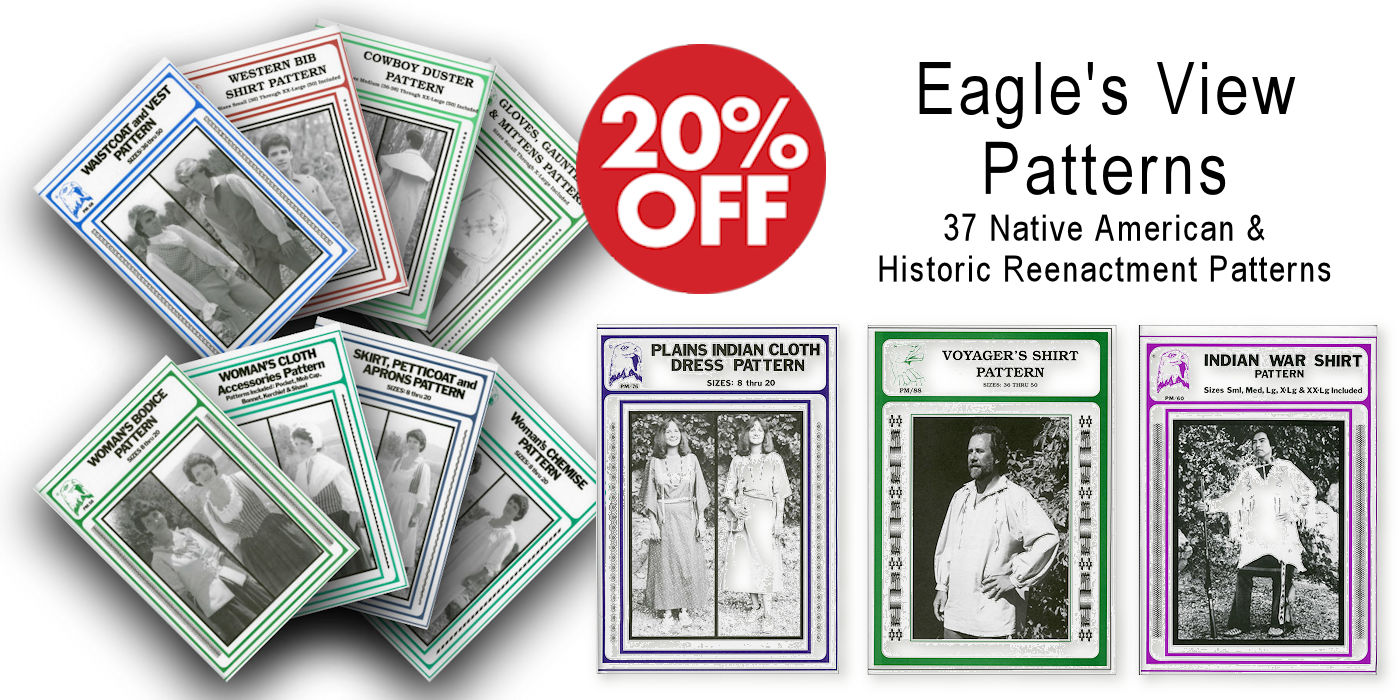
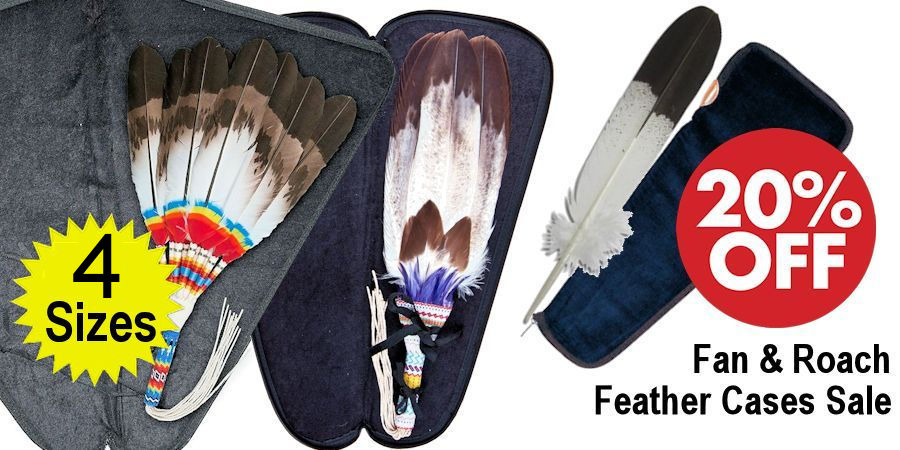
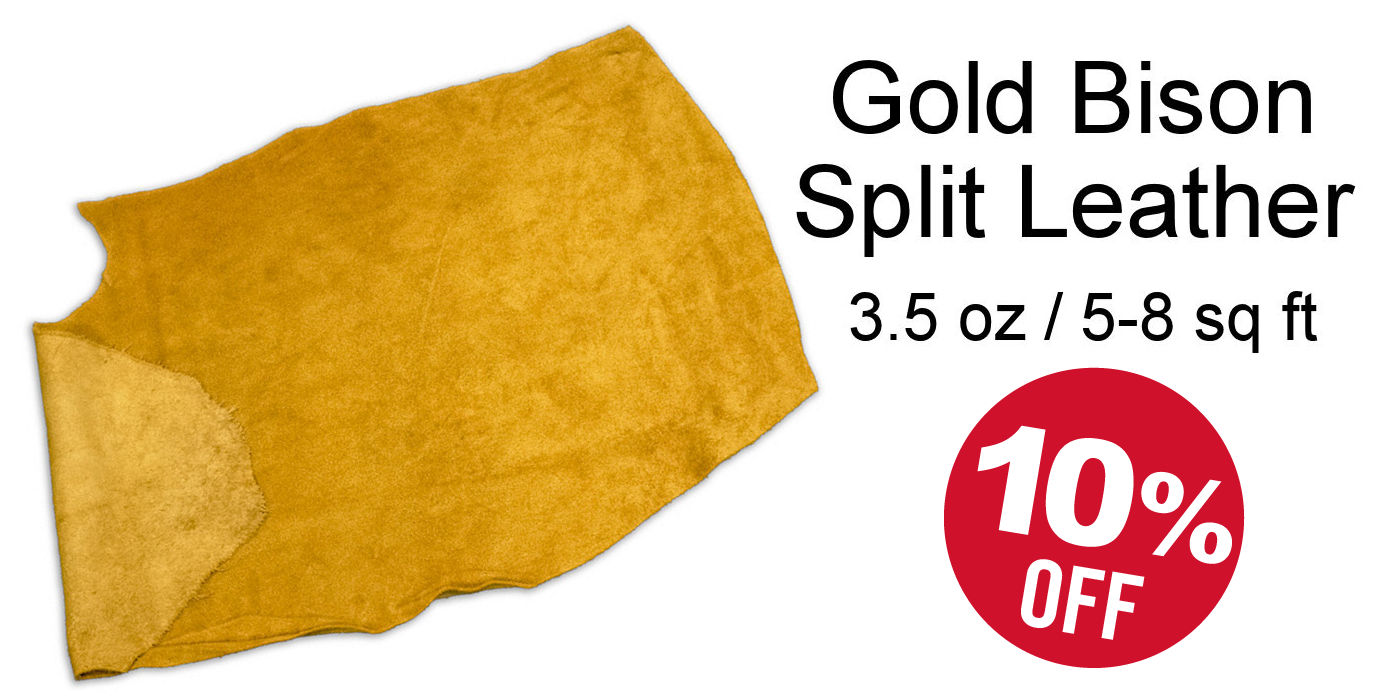
SAVE 10%-25% on popular powwow, rendezvous, historic reenactor, bead & leather crafter supplies, second quality buffalo robes for special projects, bison splits & buckskin, Native American Design Fleece Blankets, Patterns, Carbon Steel Blades, Fan & Roach Feather Cases, beading kits, leather beading tools, camp utensils, huge selection of imported beadwork in Czech beads, strung fluffs, dream catcher kits, large floral fringed scarf and embroidered cashmere wraps, and much more.


PORKY ROACH KIT INSTRUCTIONS – Related Products (click images to view product detail)
The following items are used in the above-article, or may provide added reference and helpful information.
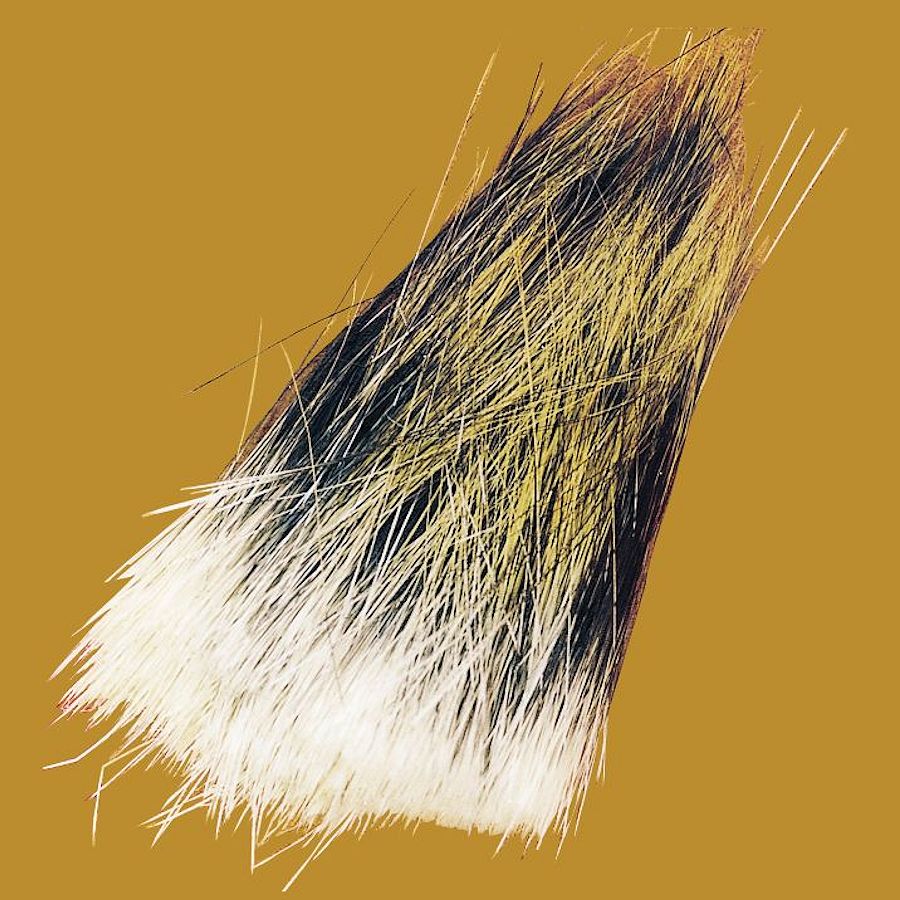
Porcupine Guard Hair
This is the long, fine porcupine guard hair used in making porky hair roaches worn by Native American male dancers of many different powwow dance styles. The porky hair is packaged in 4-6″ bundles containing enough varied length hair for a 15″ roach.
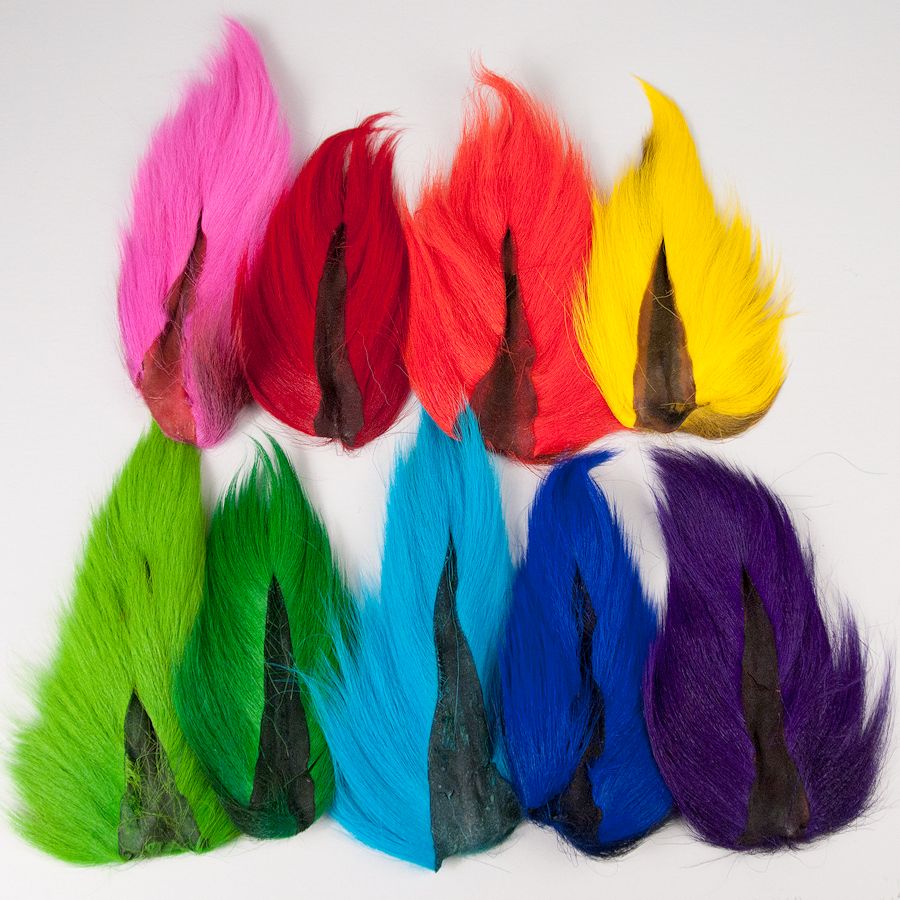
White & Dyed Deer Tails
White & Dyed Deer Tails for Native American hair roaches. You may find other craft ideas for these, but these are primarily used for the inner and outer rows of the porky roach and tassles for gourd rattles & peyote staffs.
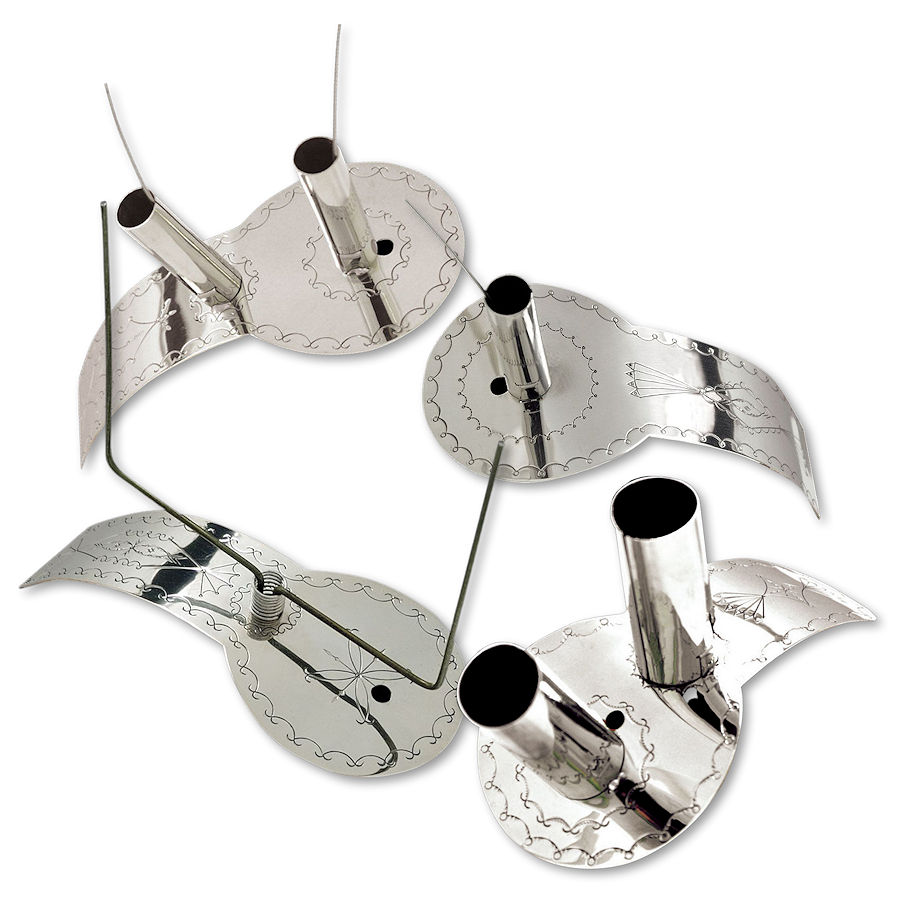
German Silver Spreaders
Availabler in 2 sizes with 1 or 2 feather sockets. Rocker spreader style allows roach feathers to rock back & forth. Reg: 2-1/2″x6″; Lg: 2-3/4″x7-1/4″ (fit our hand braided yarn bases & other larger size bases); N. Traditional 2-socket size: 3″x6″. All styles available with stamped designs or plain.
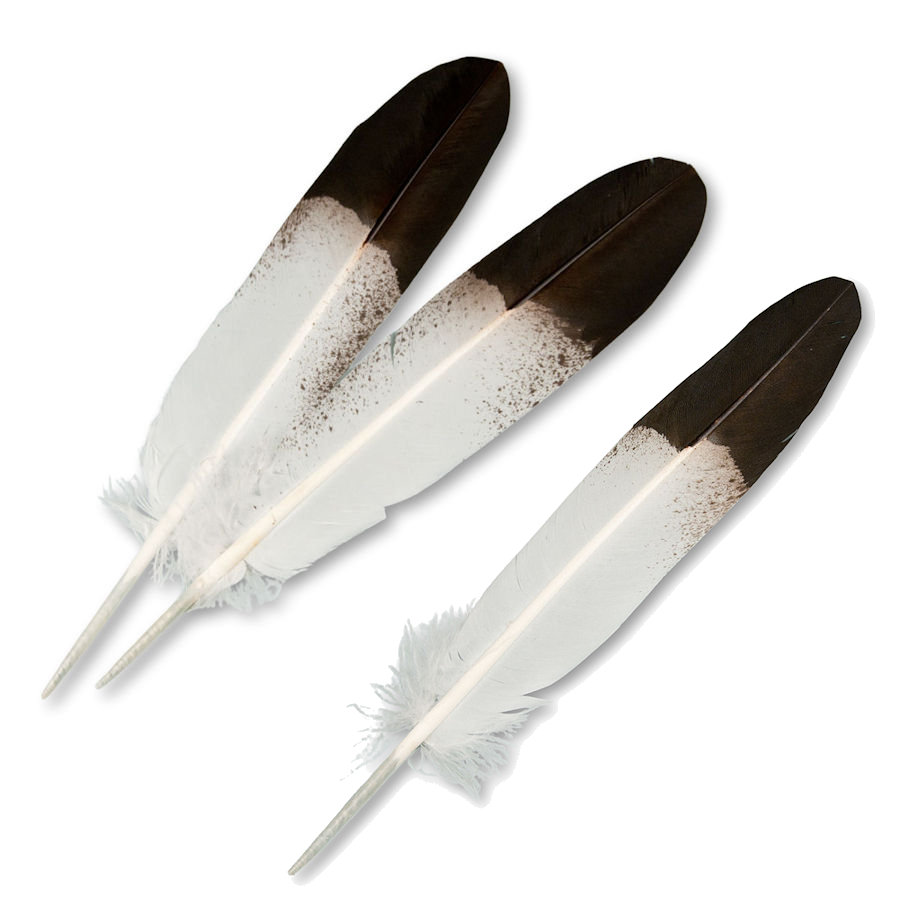
Hand-Painted Roach Feathers
Singles & pairs for Roach Spreaders. Carefully selected turkey feathers, trimmed, shaped & painted to look like genuine eagle tail feathers inserted in roach spreaders. Choose from the classic black and white Immature Golden Eagle style or other types.

Porky Roach Care: Roach Sticks
Available in 2 lengths, this roach stick is invaluable when it comes to preserving the look of your prize roach.
Comes with free roach care & storage instructions.

Porky Roach Care: Elastic Bandages
3″ x 60″ elastic bandages are the very best material for wrapping and storing your porcupine hair roach. In order to make wrapping easier, always roll the bandage “up” before beginning.